
A whole home renovation is one of the biggest financial commitments most homeowners will ever make, and protecting that investment means thinking beyond paint colors and countertop finishes. From the ground beneath your foundation to the systems inside your walls, every decision during construction affects your home’s long-term value and safety. Before the first wall comes down, it pays to understand what areas of your project deserve extra attention.
This guide walks through the practical steps that help homeowners safeguard their money, their property, and their peace of mind throughout the renovation process.
Choosing the Right Team to Guide Your Project
The single biggest factor in protecting your renovation investment is who you hire to manage it. A qualified home remodeler brings project management experience, established subcontractor relationships, and knowledge of local permitting requirements that can save you thousands in avoided mistakes. This expertise matters most when unexpected issues arise—outdated wiring, hidden water damage, or structural surprises—since an experienced remodeler can pivot quickly without derailing your budget or schedule.
Before signing any contract, verify that the remodeler carries general liability insurance and workers’ compensation coverage, and confirm their license is active with your state licensing board. Ask for at least three references from projects completed within the last two years, ideally similar in scope to yours, and actually call them to ask about communication, problem-solving, and whether the final cost matched the estimate.
Request a detailed written timeline with payment milestones tied to specific, completed phases of work rather than arbitrary calendar dates. A common structure might include a deposit of 10-15% upfront, followed by payments released after framing, rough-in inspections, and final walkthrough—never pay more than 50% before work is substantially underway. Also clarify how change orders will be documented and priced, since scope adjustments are one of the most frequent sources of budget disputes during whole home renovations.
Homeowners who skip this vetting process often end up paying twice, once for the original work and again to fix it. Before signing anything, confirm the contractor’s license number with your state licensing board, request proof of general liability and workers’ compensation insurance, and call at least three recent references to ask about timeline accuracy and how disputes were handled.
A written contract should specify materials, brands, model numbers, and finish levels so there is no ambiguity once demolition begins. It should also outline a payment schedule tied to completed milestones rather than a calendar, protecting you from paying too much before work is verified.
Taking time upfront to interview three to five candidates, compare itemized bids side by side, and ask pointed questions about subcontractors protects you from costly change orders down the road.
- Request at least three recent project references you can actually call — ask about budget accuracy, communication style, and whether the crew showed up when promised
- Confirm licensing, bonding, and liability insurance in writing, and verify the policy numbers directly with the insurer rather than trusting a printed certificate
- Ask how change orders and delays are handled financially, including whether unexpected costs (like hidden water damage) get a fixed markup or are billed time-and-materials
- Clarify who absorbs costs if a delay is the contractor’s fault versus a supply-chain issue outside their control
- Get a payment schedule tied to inspection milestones, not calendar dates — for example, releasing funds after framing passes inspection rather than on the 1st of each month
- Keep the final payment (5-10% of the contract) held back until a punch list is completed and signed off
Evaluating Your Property’s Foundation and Drainage Before Construction

Whole home renovations often reveal problems that were hidden for years, and grading issues are among the most common. Poor drainage around a foundation can lead to water intrusion, cracked slabs, and mold growth long after the renovation crew has left. Warning signs include standing water 24-48 hours after rain, visible erosion near the foundation, or a musty basement smell that never fully goes away.
A grading contractor can assess how water moves across your property and recommend regrading, French drains, or swales to redirect runoff away from your home. As a general rule, the ground should slope away from the foundation at a rate of about 6 inches over the first 10 feet. Addressing this before framing or landscaping begins is far cheaper than excavating around a finished addition later, and it protects both the new construction and the existing structure from long-term water damage.
Addressing grading early in the project timeline is far less expensive than fixing it after landscaping and hardscaping are complete. Most building codes call for a minimum slope of 6 inches of fall over the first 10 feet away from the foundation, and a soil engineer can confirm whether your lot currently meets that standard. Regrading before construction typically costs a few hundred to a couple thousand dollars, while correcting drainage problems after patios, driveways, and plantings are installed can run into the tens of thousands.
If your renovation includes an addition or expanded footprint, the surrounding soil will need to be evaluated for proper slope and compaction. Poorly compacted fill soil can settle unevenly under new concrete slabs or footings, leading to cracked flatwork and doors or windows that stick within a year or two. A geotechnical report, often required by the permitting office for additions anyway, will identify soil bearing capacity and flag any areas that need engineered fill.
It’s also worth checking how the addition will affect existing downspouts, swales, and buried drain lines, since a larger roofline usually means more water volume to redirect. Skipping this step is one of the most common regrets homeowners report after major construction projects, particularly when basement seepage or soggy yards show up only after the first heavy rainstorm following completion.
- Water should slope away from the foundation at a minimum of two percent grade, which equals about a quarter-inch drop per foot for the first ten feet out
- Downspouts should discharge at least five feet from the home, and longer runs or splash blocks are worth adding if the yard is flat or clay-heavy
- Check for existing foundation cracks, efflorescence, or musty basement odors before construction starts, since these signal drainage issues that will only worsen once new structures alter runoff patterns
- Regrading before landscaping avoids costly redo work later, especially since sod, mulch beds, or hardscaping installed prematurely often have to be torn out and replaced
- Consider having a soil test done if you’re adding significant square footage, as poor percolation can require French drains or a dry well before pouring new foundation work
Dealing with Pests Before Walls Are Closed Up
Once walls are opened during a renovation, it is the ideal time to inspect for termite activity and other wood-destroying pests. Many homeowners choose orange oil termite control during this phase because it targets termite colonies directly within wood framing without the need for widespread chemical treatment. This approach is especially popular for homeowners who want an effective solution that has a lower odor and environmental footprint compared to traditional fumigation.
Catching a termite problem mid-renovation is far cheaper than discovering it after new drywall and flooring are installed. A pest inspection should be scheduled after demolition but before any new framing or insulation goes in, giving inspectors clear access to sill plates, studs, and joists. This small step can prevent a much larger structural repair bill down the line.
- Schedule pest inspections right after demolition for full visibility
- Ask your contractor to document any wood damage found during framing
- Treat before insulation and drywall installation to avoid repeat access issues
Upgrading the Exterior for Long-Term Protection
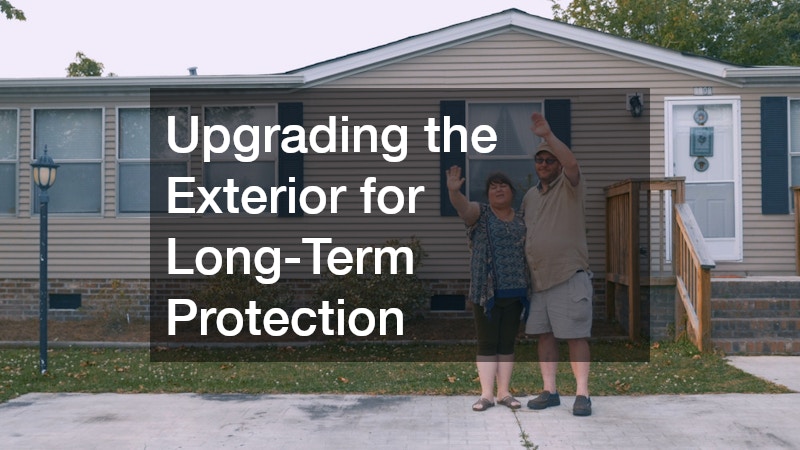
The exterior of your home takes the brunt of weather exposure, so a whole home renovation is the perfect opportunity to invest in durable materials. New siding not only refreshes curb appeal but also improves insulation and protects the structure from moisture damage when installed with proper flashing and house wrap. Fiber cement, engineered wood, and vinyl options each offer different maintenance requirements and price points worth comparing before you commit.
For homeowners in storm-prone regions, adding hurricane shutters during the renovation is a smart way to protect windows and doors from wind-driven debris. Installing them now, while the exterior is already being reworked, is typically less expensive than retrofitting them later. Many insurance providers also offer premium discounts for homes with permanent storm protection installed.
- Fiber cement siding typically lasts 25 to 50 years with proper maintenance
- Impact-rated hurricane shutters can reduce wind damage insurance premiums
- Proper flashing around windows prevents water intrusion behind new siding
Updating Aging Electrical and Heating Systems
Older homes frequently have electrical panels and wiring that were never designed for today’s appliance loads, making renovation the ideal time to address safety concerns. Scheduling electrical repair work while walls are open allows an electrician to run new circuits, upgrade the panel, and add code-required arc-fault protection without cutting into finished surfaces later. This proactive approach reduces fire risk and adds resale value that buyers actively look for.
Heating systems also deserve attention during a whole home renovation, particularly if ductwork is being reconfigured or insulation levels are increasing. A furnace repair or full system evaluation ensures your new, tighter building envelope pairs with a properly sized heating unit rather than one that was oversized for a leakier old structure. Mismatched systems waste energy and shorten equipment lifespan.
- Have an electrician evaluate your panel capacity before adding new circuits
- Request load calculations if you are changing insulation or window efficiency
- Replace outdated ductwork alongside furnace work to maximize efficiency
Planning Water Quality and Plumbing Upgrades
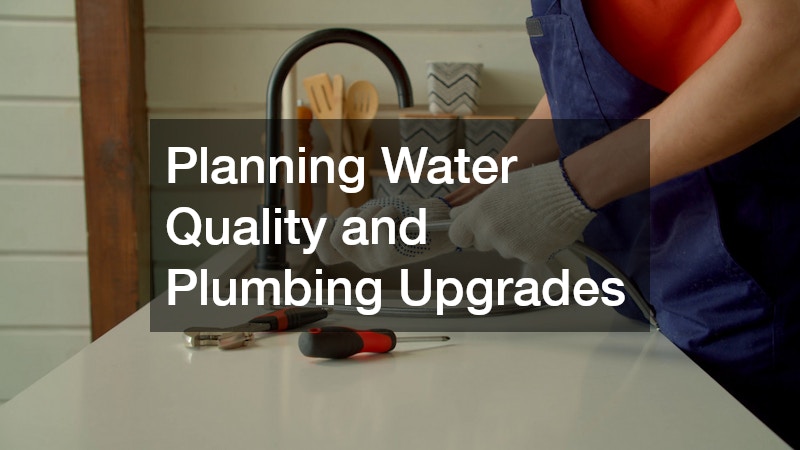
Whole home renovations often include plumbing changes, and this is a good moment to think about the quality of water flowing through your new fixtures. Installing water filtration systems during construction is significantly easier and cheaper than retrofitting them after walls and cabinetry are finished. Whole-house systems can address issues like hard water, chlorine taste, or sediment, while under-sink units target specific fixtures like kitchen faucets.
Before choosing a system, it helps to get your water tested for hardness, pH, and any contaminants specific to your area, such as iron or sulfur. This data allows you to select the right filtration technology rather than overpaying for a system that does not address your actual water quality issues. Coordinating this decision with your plumber during rough-in avoids the expense of exposing finished walls later.
- Test your water before selecting a filtration system to target actual issues
- Whole-house systems treat all fixtures, while point-of-use units target one tap
- Install filtration lines during rough-in plumbing to avoid rework later
Renovating Bathrooms with Function and Longevity in Mind
Bathrooms are among the most heavily used rooms in a home, and getting the layout and materials right pays off for decades. A skilled bathroom remodeler can help you balance waterproofing, ventilation, and storage needs while avoiding common mistakes like inadequate exhaust fans that lead to mold growth. Proper waterproofing membranes behind tile are just as important as the tile itself when it comes to preventing costly water damage.
Beyond aesthetics, think about accessibility and future needs, especially if you plan to stay in your home long term. Features like curbless showers, grab bar blocking, and comfort-height toilets add minimal cost during construction but significant value if mobility needs change later. Planning these details now avoids expensive retrofitting after tile and fixtures are already installed.
- Install blocking behind walls for future grab bars even if not needed now
- Choose ventilation fans rated for your bathroom’s square footage
- Waterproof membranes should extend beyond the shower to nearby walls
Improving Driveways and Outdoor Access Points

Construction traffic is hard on driveways and walkways, and many homeowners find cracks or settling after months of heavy equipment and material deliveries. Asphalt paving is a popular choice for repairing or replacing driveways after renovation because it holds up well to vehicle weight and can be resurfaced rather than fully replaced when damage occurs. Scheduling this work near the end of the project avoids having new pavement damaged by ongoing deliveries.
When planning outdoor improvements, consider how water drains across paved surfaces toward your home and landscaping. Sloping the driveway slightly away from the garage and house prevents pooling that can seep into foundations over time. Coordinating this work with your overall drainage plan keeps the entire property functioning as a cohesive system rather than a collection of separate projects.
- Schedule paving work after heavy construction traffic has ended
- Slope driveways away from garages and entry points to prevent water pooling
- Sealcoating extends asphalt lifespan and should be reapplied every few years
Documenting Progress and Protecting Warranties
Throughout your renovation, keeping thorough records protects you if disputes or warranty claims arise later. Photograph each phase of construction, especially work that will be covered by drywall, siding, or flooring, since this visual record can be invaluable if problems surface after everything is finished. Keep copies of all permits, inspection reports, and material warranties in one organized file.
Many manufacturers require proof of proper installation to honor product warranties, so saving invoices and installer certifications matters more than homeowners often realize. A simple binder or shared digital folder with your contractor keeps everyone accountable and makes future resale conversations much easier. This habit costs nothing but can save significant money if something needs repair years down the road.
- Photograph framing, wiring, and plumbing before walls are closed
- Store all permits and inspection reports in one accessible file
- Keep manufacturer warranty documents and installation certifications together
Protecting your investment during a whole home renovation comes down to attention to detail at every stage, from the soil beneath your foundation to the systems hidden inside your walls. By addressing drainage, pests, exterior durability, mechanical systems, and documentation proactively, you reduce the risk of expensive surprises later. Take time to research qualified professionals for each phase of the work rather than rushing decisions under time pressure. A well-planned renovation not only improves your daily living space but also strengthens your home’s value for years to come.
