
Bridging the gap between your living room and your backyard sounds simple until you start pulling permits, moving walls, or discovering the deck you wanted to add sits right on top of a drainage line. Many homeowners assume connecting indoor and outdoor spaces requires a full renovation, but with the right sequence of decisions, you can create a seamless flow without tearing your home apart. This guide walks through the practical, often-overlooked systems that make indoor-outdoor living work safely and beautifully. Whether you are planning a patio off the kitchen or a covered outdoor room, understanding these details ahead of time will save you money, stress, and structural headaches.
Planning a Covered Outdoor Structure That Matches Your Home
Before you extend your living space outward, think about what kind of structure will actually support your goals. A covered patio, pergola, or freestanding outdoor room needs a foundation and framing plan that complements your existing house rather than fighting against it. The roofline, siding material, and column style should echo what’s already there, so the addition reads as intentional rather than bolted-on.
Size matters just as much as style. A 12×16-foot covered patio suits a small backyard dining setup, while anything over 20×20 feet starts to feel like a separate structure and may trigger different permit requirements or setback rules depending on your municipality. Many homeowners are surprised to learn that pole-based construction can be a faster, more affordable option than traditional stick framing for larger covered spaces. Post-frame builds use fewer materials, require less labor time, and can span wider distances without interior support columns, which keeps sightlines open underneath.
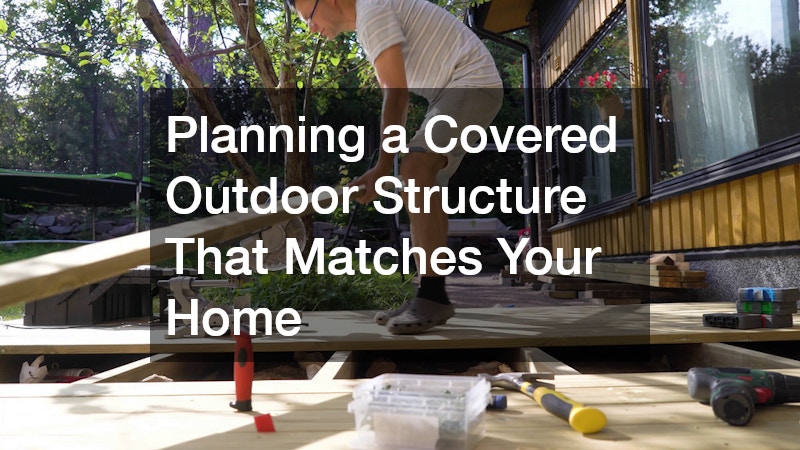
That said, they’re not ideal for every design; if you want a fully enclosed room with insulated walls and finished interiors, traditional framing usually blends more seamlessly with the main house. Whichever route you choose, check the foundation depth against your local frost line and soil conditions before finalizing plans. A structure that shifts or settles unevenly will eventually pull away from the house, undermining the very connection you’re trying to create.
This is where post frame builders often become a valuable resource, since they specialize in open-span structures that work well for covered patios, outdoor kitchens, or breezeways connecting a house to a detached garage or studio. Their construction method uses engineered trusses bearing on perimeter posts, which reduces the number of interior support posts and keeps sightlines open between indoor and outdoor areas. This matters most when you want an unobstructed view from the kitchen island to the grill station, or a breezeway wide enough to roll a wheelbarrow or golf cart through without weaving around columns.
A knowledgeable builder will also help match the new structure to your home’s existing rooflines and materials, so the addition looks intentional rather than tacked on. That might mean matching the pitch of your roof, carrying over the same soffit color, or using coordinating trim so the covered area reads as a natural extension rather than a mismatched add-on. Some homeowners also request matching gutter profiles or lighting fixtures to tie the two structures together visually.
Getting this input early prevents costly redesigns once footings are already poured. Post frame builders can flag issues like snow load requirements, local setback rules, or drainage patterns before concrete goes in the ground, since moving a footing after the fact often means breaking it out entirely. Bringing them into the conversation during the design phase, rather than after plans are finalized, typically saves both time and money.
Extending Your Electrical System Safely to Outdoor Areas
Outdoor living spaces almost always need power, whether for lighting, ceiling fans, speakers, or a mini fridge tucked into an outdoor bar. Running new circuits outside is not a simple extension cord job, especially if the space will be used year-round or during wet weather. Outdoor-rated wiring, GFCI protection, and properly sealed junction boxes are non-negotiable safety requirements.
This is a task best left to licensed residential electricians who understand local code requirements for exterior circuits and weatherproof fixtures. They can also assess your electrical panel’s capacity before you commit to a large outdoor build, which avoids the frustration of finishing a beautiful patio only to find it cannot support the lighting plan you envisioned. A proper load assessment upfront keeps the entire project on schedule.
Adding an EV Charging Station Near Your New Outdoor Living Area
If your indoor-outdoor renovation includes work near the driveway or garage, it is worth thinking about future needs, not just current ones. Many homeowners are adding electric vehicles to their household and retrofitting a charger later, which often means tearing into freshly finished walls or landscaping. Planning ahead during this phase can prevent that kind of redundant work.
Scheduling EV charger installation at the same time as your other electrical upgrades allows the electrician to run conduit while walls and trenches are already open. This bundling approach typically costs less than doing it as a standalone project later. It also means your outdoor space stays functional and untouched once the renovation is complete, rather than facing a second round of digging.
Managing Water Flow Around New Patios and Walkways
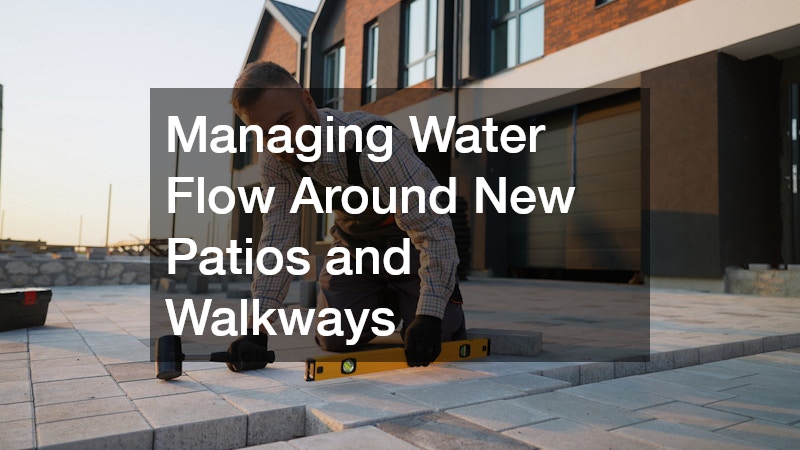
One of the most common mistakes in connecting indoor and outdoor spaces is ignoring how water will move once new hardscaping is in place. Patios, walkways, and extended rooflines change drainage patterns, sometimes directing water toward your foundation instead of away from it. This can lead to slow, expensive damage that is not obvious until years later.
Proper gutter installation plays a bigger role in this than most homeowners realize, especially when a new roof extension or covered patio changes how rainwater sheds off the structure. Gutters need to be sized and positioned to handle the added runoff, with downspouts directed well away from new outdoor living surfaces. Skipping this step often means revisiting the project later to fix pooling water or eroded landscaping.
Repairing Roofline Issues Before Extending Outdoor Living Spaces
If your plan involves building a covered connection between your house and a new outdoor structure, your existing roofline needs to be in solid condition first. Adding weight, flashing, or a new roof intersection to a section that already has hidden damage is asking for trouble. This is why a thorough inspection should happen before any construction begins.
Investing in roof repair ahead of an indoor-outdoor renovation protects the new work you are about to build on top of it. A contractor can identify soft spots, damaged flashing, or aging shingles that need attention before they are covered or tied into a new structure. Addressing these issues early is far cheaper than dealing with a leak after the new addition is finished and sealed.
Preventing Water Intrusion During Construction
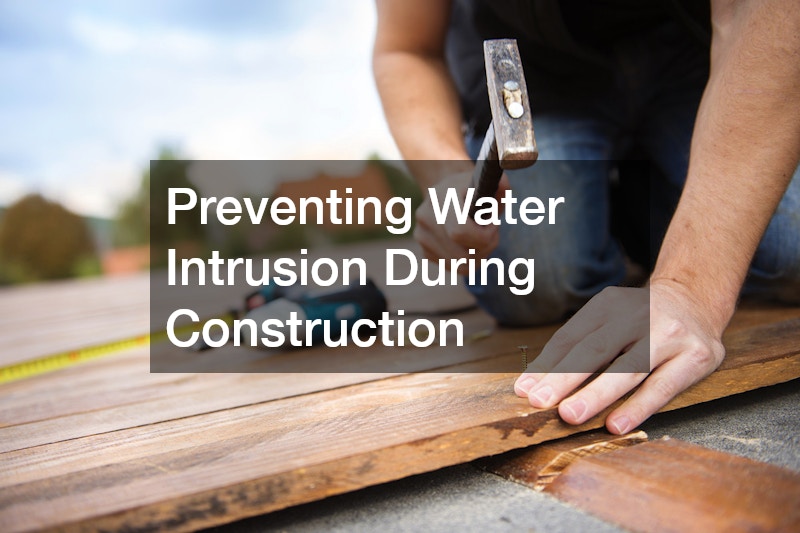
Any time you cut into exterior walls, add doors, or connect new rooflines to old ones, you create temporary vulnerabilities to water intrusion. Even a few days of exposed framing during a rainy stretch can lead to soaked insulation, warped sheathing, or hidden mold growth if not handled carefully — and mold remediation alone can add thousands of dollars to a project that was never budgeted for repairs. Contractors typically manage this risk with temporary weatherproofing: heavy-duty tarps secured well beyond the opening’s edges, plastic sheeting taped to existing siding, and temporary flashing at any point where new construction meets old rooflines or walls. On multi-day projects, some crews install temporary doors or plywood “buck-outs” over openings each night rather than relying on tarps alone.
Homeowners should still ask about the specific plan before work begins. Useful questions include how the crew handles an unexpected overnight storm, whether temporary drainage paths are graded away from the foundation, and how long the structure will realistically sit open at each construction phase. It’s also worth asking what happens to the interior if water does get in despite precautions — whether flooring and drywall nearby are protected with plastic sheeting, and whether a moisture meter will be used afterward to confirm framing has dried before it’s closed up. Trapping even a small amount of moisture behind new drywall can cause problems that don’t surface for months.
Cutting a new doorway or window into an exterior wall means your home is exposed to the elements until the opening is framed, flashed, and weathered in. A sudden downpour or even overnight dew can find its way into exposed insulation, sheathing, or subflooring during that window. That’s why professional water damage cleaning should happen quickly, ideally within 24 to 48 hours, to prevent mold from taking hold in wall cavities or subflooring. Waiting even a short time can turn a minor issue into a much larger remediation project, since damp insulation and framing often need to be fully replaced rather than dried out once mold sets in. What starts as a $500 fix can easily balloon into several thousand dollars in repairs, plus added delays while affected materials are removed and rebuilt.
Ask your contractor how they handle unexpected weather delays before construction begins. A well-prepared crew will have heavy-duty tarps, temporary plywood barriers, or plastic sheeting on hand to seal openings overnight or ahead of forecasted storms. It’s also worth asking whether they check the forecast before removing any exterior wall section, and whether they carry moisture meters to verify that framing and subflooring are fully dry before closing up the wall.
- Ask contractors about their rain contingency plan, including how quickly they’ll tarp open walls or rooflines once precipitation is forecast
- Request temporary weather barriers (poly sheeting, plywood, or portable canopies) be staged on-site before demolition begins, not ordered after a storm hits
- Keep moisture meters or a dehumidifier on hand during open-wall phases, and check readings daily since drywall and framing should stay below 16% moisture content
- Address any musty smells immediately rather than waiting to see if they fade, since mold can begin colonizing damp material within 24 to 48 hours
- Confirm insurance coverage for construction-related water incidents, and verify whether it’s the contractor’s liability policy or your homeowner’s policy that applies
- Get contract language specifying who pays for remediation if water intrusion occurs mid-project, before work starts
Fixing Plumbing Lines Before Building Outdoor Kitchens or Bathrooms
Outdoor kitchens, pool houses, and pool bathrooms all require running new water lines, which means tapping into your home’s existing plumbing system. Older homes especially may have pipes that are not equipped to handle the added demand or pressure changes. This is the point where hidden problems tend to surface.
Scheduling plumbing repair before extending lines outdoors ensures you are not building new fixtures on top of a failing system. A plumber can pressure test existing lines, check for corrosion, and confirm your water heater can handle the additional load. Catching these issues early prevents the frustrating scenario of a beautiful new outdoor sink or shower that barely works.
Choosing Durable Flooring for Transitional Indoor-Outdoor Spaces
The flooring choice in spaces that bridge indoors and outdoors matters more than in a typical room, since it needs to handle temperature swings, moisture, and foot traffic from both directions. Porcelain and natural stone are popular because they can be used consistently across a threshold, creating a visually seamless transition. Slip resistance also becomes a bigger priority once you are dealing with a surface exposed to rain or pool splashes.
Visiting a tile store in person, rather than relying solely on online photos, makes a real difference for this kind of project, since color and texture can look completely different in natural outdoor light. Bring a sample home and view it at different times of day before committing to a large order. Many suppliers also carry matching indoor and outdoor lines specifically designed for continuous flooring projects.
Defining Outdoor Boundaries Without Blocking the View
Part of connecting indoor and outdoor spaces well is deciding where the new area ends and the rest of the yard begins. Privacy and safety are common reasons for adding a boundary, especially around pools, patios, or play areas, but a poorly chosen barrier can undercut the open feeling you are trying to create. Material and height both play a role in how much the space still feels connected to the rest of the property.
Working with fence companies that offer varied styles, such as horizontal slat designs or lower picket options, can help you maintain sightlines while still meeting local code requirements for pool enclosures or property lines. Many companies now offer semi-transparent materials that provide security without the boxed-in feeling of a solid privacy fence. Getting a few different quotes also helps you compare not just price but also how each company handles gate placement near your new outdoor living area.
Keeping Landscaping Healthy Around New Hardscape Additions
New patios, walkways, and outdoor structures change the way water and sunlight reach the surrounding landscaping, which can stress plants that were previously thriving. Existing sprinkler lines are also at risk of being cut or crushed during construction if their locations are not documented beforehand. A little planning here prevents avoidable plant loss and repair costs.
Bringing in irrigation companies before construction begins allows them to map existing lines and adjust the system to account for new hardscaping. They can also recommend zone changes so that plantings near the new outdoor space get appropriate water without overspraying onto patios or seating areas. This coordination is much simpler and cheaper than rerouting a damaged irrigation system after the concrete has already been poured.
Connecting your indoor and outdoor spaces does not have to mean structural chaos, but it does require sequencing the right professionals and decisions in the right order. Start with the bones of the project, framing, electrical, plumbing, and drainage, before moving on to the finishes that make the space feel cohesive. Taking the time to plan each system properly now will save you from costly rework and give you an outdoor living area that feels like a natural extension of your home for years to come.
